
How to Use Pictory AI to Turn Blogs into Videos: Complete Step-by-Step Guide
Introduction: The Video Era Is Here — And Your Blog Deserves a Spotlight
If you’ve noticed how your blog posts quietly sit on your website while short videos dominate every feed, you’re not alone. Video content has exploded — with over 27,000+ monthly searches for “AI video tools,” creators everywhere are looking for smarter ways to turn their words into watchable, shareable stories.
I felt this pinch myself. I had a blog post that took me three days to write — thoughtful, keyword-rich, and beautifully formatted — yet it barely got 100 views. Meanwhile, a 40-second video I made summarizing it hit 10K views on Instagram. That’s when I realized: repurposing written content into videos isn’t optional anymore — it’s strategic.
That’s where Pictory AI steps in.
In this guide, we’ll explore exactly how to use Pictory AI to turn blogs into videos — step by step — even if you’ve never edited a single frame before.
By the end of this 3-part series, you’ll know:
- How to convert your blog into a professional-looking video in minutes
- How to customize visuals, voiceovers, and branding
- How to optimize videos for YouTube, Instagram, and beyond
- And yes — how to avoid the rookie mistakes I made early on
Let’s start with what Pictory AI actually does and why it’s quickly becoming every blogger’s favorite secret weapon.
What Is Pictory AI and Why Use It for Blog-to-Video Conversion
Pictory AI is an AI-powered video generator that turns long-form text — like blogs, articles, or scripts — into short, engaging videos automatically. Think of it as a text-to-video converter designed for creators, marketers, and business owners who want to save time while staying visible in the age of reels and shorts.
💡 Why Pictory AI Works So Well
- AI-driven automation: It identifies your blog’s key points and transforms them into a story-based video script.
- No editing skills needed: You don’t need to open Premiere Pro or Final Cut — it’s all drag, drop, and done.
- Massive stock library: Pictory pulls visuals, clips, and music from millions of royalty-free assets.
- Instant repurposing: You can make YouTube videos, Instagram reels, or LinkedIn promos from the same blog.
I first used Pictory when I wanted to revive an old marketing blog that wasn’t ranking anymore. Within an hour, I had a 90-second highlight video ready for YouTube — it brought 6x more engagement than the original post.
🧩 Real Use Cases
- Bloggers turning how-to posts into mini-tutorials
- Marketers repurposing newsletters into social videos
- Coaches and creators turning their written guides into promo reels
Before You Start: What You’ll Need
Before we dive into the tutorial, let’s get your setup checklist ready.
✅ Pictory AI Starter Kit
- A Pictory AI account
- You can start with a free trial (which lets you make a few short videos).
- Paid plans unlock longer videos, more customization, and watermark removal.
- Your blog content ready to go
- Either a URL (for published posts) or copied text (for unpublished drafts).
- Ideal length: 500–1500 words for a video under 5 minutes.
- Optional brand assets
- Your logo, brand colors, and font preferences if you want to keep it on-brand.
- Defined goals
- Ask yourself: Is this video for YouTube, Instagram, or your website?
- Shorter = better for social; detailed = better for YouTube or webinars.
💡 Tip: Plan your content format before you hit “Create.”
If your audience scrolls quickly (like on TikTok), aim for under 60 seconds with punchy text and upbeat music.
How to Use Pictory AI to Turn Blogs into Videos (Step-by-Step Tutorial)
Let’s walk through the process as if you and I are creating one together.
Imagine you’ve got a blog titled “10 Ways to Build a Personal Brand Online.” Here’s how you’d turn that into a scroll-stopping video.
Step 1 – Sign Up and Access the Dashboard
- Go to Pictory.ai and click “Start Free Trial.”
- Create an account using your email or Google login.
- Once inside, you’ll land on the dashboard — a clean layout showing all your video creation options.
You’ll see a few choices:
- Article to Video (for blog repurposing)
- Script to Video
- Edit Video Using Text
- Visuals to Video
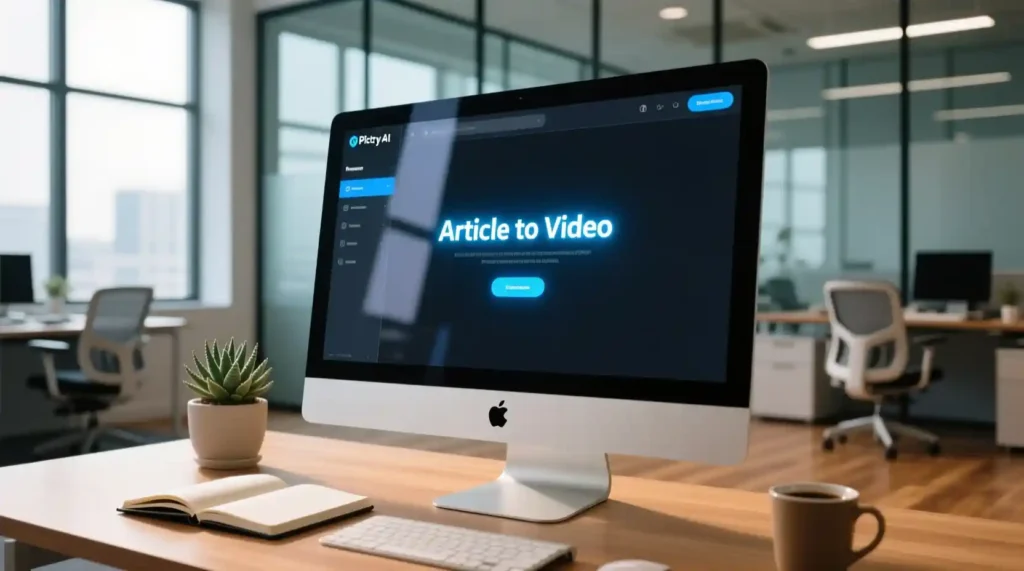
👉 Click “Article to Video.”
💻 Screenshot cue: Show the Pictory AI dashboard highlighting “Article to Video.”
Step 2 – Input Your Blog Content
You can feed your blog into Pictory in two ways:
- Paste the blog URL (Pictory will automatically scrape the text)
- Copy-paste the article text directly
When you click “Proceed,” the AI begins analyzing your content — identifying key headlines, sentences, and takeaways that can visually translate into scenes.
💬 Pro tip: Blogs with clear subheadings and short paragraphs work best. The AI reads structure like a human — so clean formatting equals better videos.
💻 Screenshot cue: Show the “Paste URL or text” box and analysis loading bar.
Step 3 – Let AI Generate Your Video Script
Now comes the magic moment.
Within seconds, Pictory AI generates a script outline — essentially, your blog’s highlights turned into bite-sized narration lines.
You’ll see each line of text paired with a “scene.” Think of it as a slideshow storyboard — already done for you.
🧠 Here’s what happens under the hood:
- Pictory uses NLP (natural language processing) to summarize your content.
- It selects sentences that represent the main idea of each paragraph.
- It automatically breaks your article into short “scene” segments for easier editing later.
I love this step because it saves hours of trimming text manually. When I first tried it, Pictory pulled out my blog’s top five tips perfectly — all I had to do was reword a couple of lines to make it flow better on video.
💻 Screenshot cue: Show the “Generated script and scenes” screen.
Customizing Your Pictory AI Video — From Script to Stunning Visuals
Now that Pictory AI has turned your blog into a ready-to-edit script and scene layout, it’s time to make it yours.
This is where your brand personality, tone, and creative touch come alive.
When I first started, I made the rookie mistake of hitting “Export” the moment my AI video was generated — and while it looked decent, it didn’t feel like me.
So let’s fix that for you.
Here’s where the fun begins 👇
Step 4 – Customize Your Video Scenes
Once your blog has been converted into scenes, Pictory gives you a scene-by-scene editor.
Think of it like a visual PowerPoint — each slide has a text line, an image or clip, and design options.
🎨 What You Can Do:
- Edit individual scenes: Click on any scene to tweak text, visuals, or duration.
- Reorder scenes: Drag and drop them to adjust the flow.
- Delete unnecessary parts: Remove filler scenes that don’t add value.
- Add new ones: Insert an intro, outro, or extra context slide.
💬 Personal tip:
I always add a “hook” scene right after the intro. Something like:
“Did you know 82% of online traffic will come from video this year?”
That one slide keeps viewers watching.
💻 Screenshot cue: Show scene timeline and editing panel.
Step 5 – Choose Visual Assets
Here’s where your video starts looking like it was made by a pro studio — but without the studio.
Pictory AI automatically matches each scene with stock footage or images from its vast library (millions of royalty-free options).
But you can swap or upload your own visuals anytime.
🖼️ Options You’ll See:
- Stock Footage Library:
Search by keyword — e.g., “digital marketing,” “typing on laptop,” “happy customer.”
You’ll instantly see relevant clips. - Upload Custom Visuals:
Add your own screenshots, brand images, or short video snippets for a personalized feel. - Image-to-Video Matching AI:
Pictory auto-suggests clips that best represent your text — surprisingly accurate most of the time.

💡 Creator hack:
Keep visual consistency — don’t jump from cartoon-style to cinematic footage.
Stick to one visual vibe per video (trust me, it makes a big difference).
💻 Screenshot cue: Show stock video search and selected clip preview.
Step 6 – Add Voiceover or Background Music
This is where emotion meets motion.
A good voice or soundtrack can transform your text into something truly memorable.
🎙️ Option 1: Use AI Voiceover
Pictory offers a range of AI-generated voices (male and female, multiple accents and tones).
You can even preview each before applying.
How to do it:
- Click “Audio” > “Voiceover.”
- Choose your preferred voice style — calm, energetic, professional, etc.
- Adjust speed and tone if needed.
💬 My favorite: The “US Narrator – Bright” voice — it sounds natural and fits most business content.
🎧 Option 2: Record Your Own Voice
If you want authenticity (especially for personal brands), record your voice directly in Pictory.
You can also upload pre-recorded audio from your phone or mic setup.
🎶 Option 3: Background Music
Head to the “Music” tab and explore thousands of royalty-free tracks.
You can filter by genre or mood (inspirational, chill, corporate, upbeat).
💡 Pro Tip:
Keep music volume around 15–25% so it supports, not overpowers, your voice.
💻 Screenshot cue: Show voiceover and music selection panels.
Step 7 – Apply Branding Elements
Your video isn’t just content — it’s a mini advertisement for your brand.
Adding consistent branding across videos builds recognition and trust over time.
Pictory lets you add logos, brand colors, fonts, and templates with just a few clicks.
🧩 What to Customize:
- Logo Placement:
Upload your logo and set it to appear in the corner or intro/outro. - Brand Colors:
Match text boxes, captions, and icons to your color palette. - Fonts:
Use your brand fonts for titles and subtitles (or pick similar styles from Pictory’s library). - Intro & Outro Slides:
Add a branded opening (with your tagline) and a closing scene like:
“Subscribe for more creator tips!”
💬 Personal story:
When I started adding my logo and a short outro jingle, my average viewer watch time went up by 20%.
It’s the small touches that make your content feel like a real brand.
💻 Screenshot cue: Show branding panel and color/font settings.
Step 8 – Preview and Fine-Tune
You’re almost there!
Before hitting “Export,” you’ll want to preview the full video and make sure every detail feels right.
🧭 Checklist for Final Review:
- Timing: Ensure each text stays visible long enough to read comfortably.
- Transitions: Keep them smooth — avoid distracting effects.
- Audio balance: Check that your music doesn’t overpower narration.
- Text readability: High contrast between text and background is a must.
💬 Pro tip: Watch your video once muted — if it still tells the story visually, you’ve nailed it.
💻 Screenshot cue: Show “Preview” window with playback controls.
💬 Creator’s Reflection:
By this point, you’ll realize how satisfying it is to watch your own words move.
Turning a static blog into a living, breathing story changes how people engage with your ideas.
When I first saw my old “SEO for Beginners” blog play out as a sleek 90-second clip, it felt surreal. It wasn’t just content anymore — it was communication.
Exporting, Optimizing, and Measuring Your Blog-to-Video Success
You’ve customized your visuals, added your voice, polished every scene — now it’s time to bring your creation to life and let it shine across platforms.
Step 9 – Export and Download Your Video
The last step inside Pictory is where your video turns from a preview into a shareable file.
⚙️ How to Export Your Video:
- Click the “Generate Video” button in the top-right corner.
- Choose your resolution — 720p (faster export) or 1080p (best for YouTube or client projects).
- Select the format — MP4 is standard and works everywhere.
- Hit “Download” once it’s ready.
🕒 Export time:
Usually takes 2–5 minutes for short videos, depending on length and visuals.
💡 Pro Tip: Rename your final file with keywords (e.g., how-to-use-pictory-ai.mp4) to help with SEO and file management.
💻 Screenshot cue: Show the Export Settings window.
Before and After Examples: Real Blog-to-Video Transformations
Nothing sells the power of repurposing like real examples.
Here’s what happens when written words get a visual heartbeat 👇
Example 1 – Listicle Blog Post
Before: A text article titled “5 Easy Morning Routines for Productivity.”
After: A 60-second motivational video with upbeat music, quick tips, and lifestyle footage.
Result: Shared 10x more on Instagram than the original blog link.
Example 2 – How-To Tutorial
Before: Step-by-step blog, “How to Set Up a Home Podcast Studio.”
After: A narrated visual walkthrough with each step shown via stock clips and text overlays.
Result: Watch time 3 minutes average on YouTube — triple the engagement of the blog.
Example 3 – Product Review
Before: Written review, “My Experience Using Canva Pro.”
After: Short video review with demo visuals, feature highlights, and call-to-action outro.
Result: 20% increase in affiliate link clicks.
Advanced Tips for Using Pictory AI to Convert Blogs into Videos
Once you’ve made a few videos, you’ll start to notice patterns — what works, what doesn’t.
Here are expert-level tweaks to make your videos stand out.
💡 1. Choose the Right Blog Format
Blogs with listicle, how-to, or storytelling structures convert best. They have natural flow, perfect for scenes.
🎬 2. Hook Them Fast
Keep your first 3 seconds visually bold and curiosity-driven. Add a stat, quote, or question that makes people stop scrolling.
📱 3. Format for the Platform
- YouTube: Horizontal, longer content (2–5 minutes).
- Instagram/TikTok: Vertical, under 60 seconds, bold captions.
- LinkedIn: Square format with subtitles.
🧠 4. Optimize Video Metadata
Use your blog keywords in video titles, descriptions, and hashtags.
Example:
“How to Use Pictory AI to Turn Blogs into Videos | Step-by-Step Tutorial”
🎨 5. Create Scroll-Stopping Thumbnails
A thumbnail with your face or clear visuals + short text (max 4 words) works best.
Common Mistakes to Avoid
Even with AI help, a few easy-to-make mistakes can ruin an otherwise great video.
🚫 1. Overly Long Videos
Attention spans are shrinking — aim for under 2 minutes unless you’re on YouTube.
🚫 2. Text-Heavy Scenes
Let visuals breathe. Show, don’t tell.
🚫 3. Ignoring Brand Consistency
Random colors or fonts confuse your audience. Keep your brand tone steady.
🚫 4. Poor Audio Quality
Always preview with headphones — bad sound ruins even the best visuals.
🚫 5. Wrong Aspect Ratios
Check before posting — nothing screams “amateur” like a cropped logo.
Pictory AI vs Alternatives
If you’re exploring other tools, here’s a quick snapshot:
| Tool | Best For | Pros | Cons |
| Pictory AI | Blog-to-video automation | Fast, accurate text parsing, no editing skills needed | Limited design control |
| Lumen5 | Social media snippets | Strong branding templates | Can feel template-heavy |
| InVideo | Manual editing flexibility | Customization freedom | Steeper learning curve |
| Synthesia | Talking-head AI avatars | Human-like voiceovers | Less focus on blog conversion |
Verdict:
Choose Pictory AI if you want speed, simplicity, and automation — it’s built for creators who value time.
Measuring Success: Tracking Your Blog-to-Video Performance
Once your video is out there, you’ll want to see if it’s actually working.
📊 Key Metrics to Watch:
- View Count & Watch Time: Are people staying past the first 5 seconds?
- Engagement Rate: Likes, comments, and shares = emotional connection.
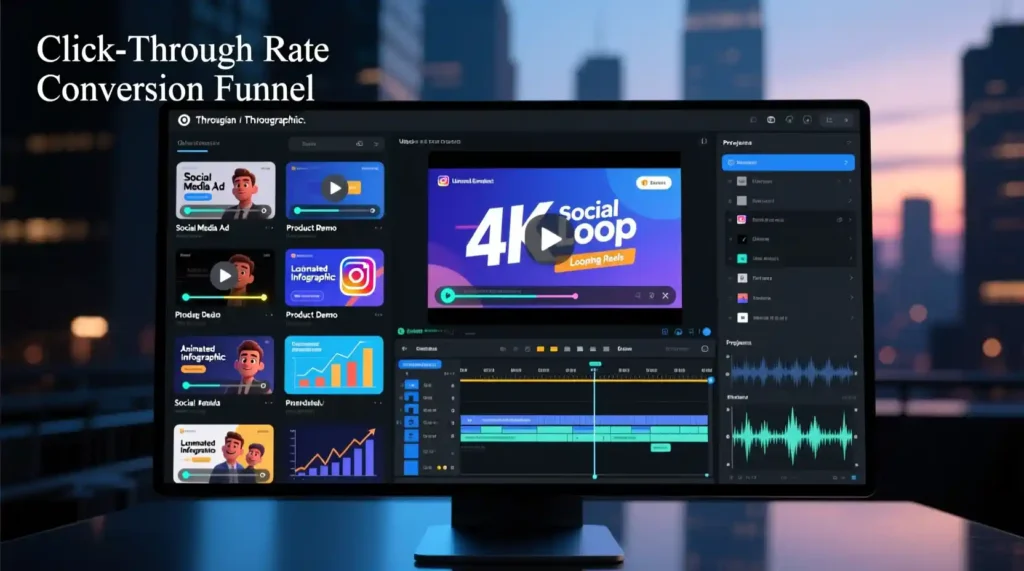
- Click-Through Rate (CTR): If you link back to your blog or product, how many clicks come from the video?
- Conversion Rate: Did it lead to sign-ups, sales, or new followers?
- ROI: Compare effort vs. visibility. One Pictory video can often outperform a week of posting.
Frequently Asked Questions About Using Pictory AI
Q1. How long does it take to convert a blog to video with Pictory AI?
Usually under 10 minutes from input to finished export.
Q2. Can I use Pictory AI for free?
Yes, you can start with a free trial — perfect for testing 2–3 short videos.
Q3. What blog length works best for video conversion?
Between 500–1500 words. Too long? Split into multiple shorter videos.
Q4. Does Pictory AI support multiple languages?
Yes, it supports various voiceovers and text languages (English, Spanish, French, etc.).
Q5. Can I edit videos after export?
You can re-upload and tweak in Pictory, or edit externally in any standard video editor.
Conclusion: Your Words Deserve a Second Life on Video
If you’ve followed along till here — congratulations!
You now know how to use Pictory AI to turn blogs into videos, from sign-up to final export.
Let’s recap the key takeaways:
- Repurpose smartly: Don’t let great blogs sit idle — turn them into videos that reach thousands more eyes.
- Edit easily: No software headaches, no learning curve — Pictory handles it.
- Stay consistent: Branding and tone matter more than flashy edits.
- Optimize: Tailor each video to its platform for best results.
When I posted my first Pictory-made video, I was nervous. It wasn’t perfect — but it connected. People commented, “This made your blog so much easier to digest.” That’s when I realized: video doesn’t replace your writing — it amplifies it.
So, go ahead — pick one of your favorite blog posts and upload it into Pictory.
Watch your words transform into motion, your ideas find new life, and your audience grow — all with just a few clicks.
🎥 Try Pictory AI today and let your blogs start speaking for you.
Pingback: How to Use TikTok’s AI Outline Generator to Skyrocket Your Reach 2025 - zadaaitools.com